With lab spaces decreasing and engineering teams becoming more distributed, companies are choosing all-in-one instruments as a supplement to traditional laboratories, creating a need for a portable test and measurement bench that can support all types of designs.
Engineers all over the world use Digilent Test and Measurement devices to decrease their design cycle time and increase their impact by always having an oscilloscope, logic analyzer, waveform generator and more within reach.
NI LabVIEW offers a graphical programming approach to help you visualize every aspect of your application, including hardware configuration, measurement data, and debugging. Benefits of using LabVIEW:
- Program the way you think with intuitive graphical programming
- Connect to almost any hardware with unparalleled hardware support
- Quickly gather and visualize data
- Interoperate with other software tools
The Getting Started with LabVIEW and a Test and Measurement Device demonstrates how to use NI LabVIEW Community Edition and various instruments in Digilent test and measurement devices to test analog and digital circuits
Prerequisites
- A portable Digilent Test and Measurement device which are all available through Mouser
- Analog Discovery Studio, a portable circuits laboratory

Analog Discovery Studio
- Analog Discovery 2, USB oscilloscope, logic analyzer, and multi-function instrument
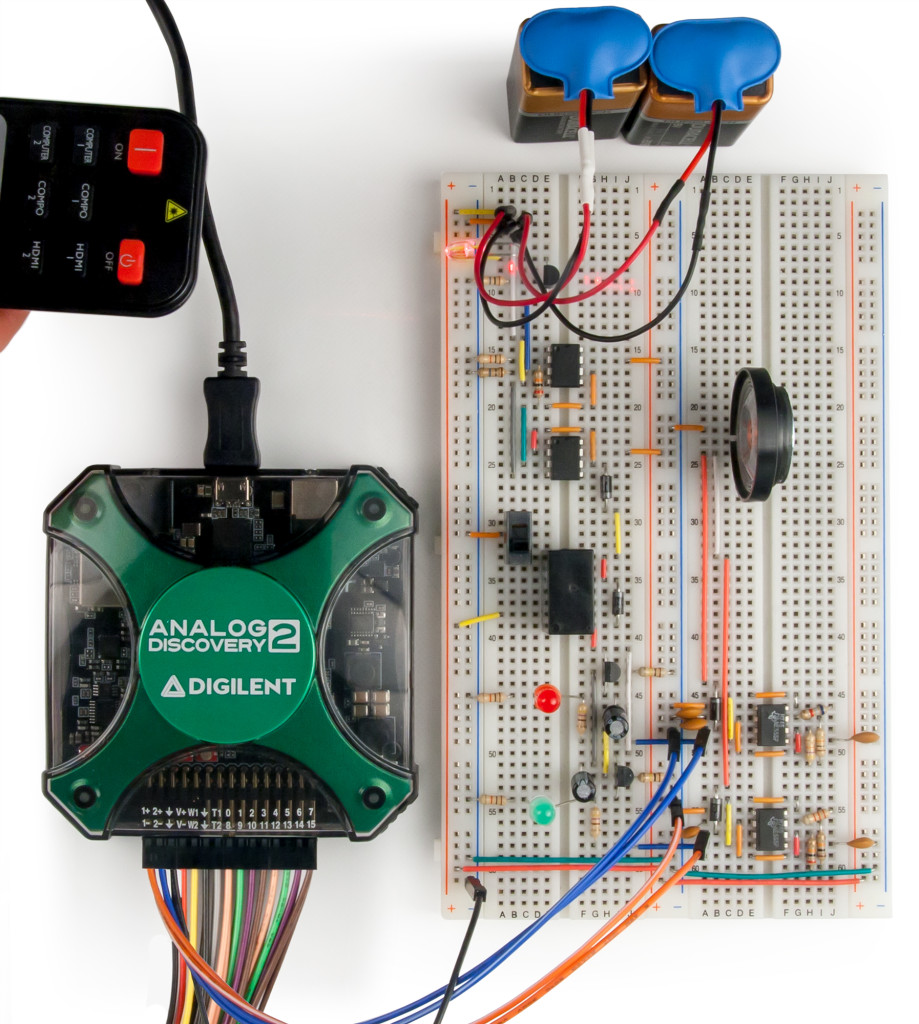
Analog Discovery 2
Digital Discovery, Portable USB Logic Analyzer and Digital Pattern Generator

Digital Discovery
- A Computer with the latest version of WaveForms and LabVIEW Community installed
Hardware Setup
Plug in the Test and Measurement device to the computer via an USB cable.
If your device requires external power, plug in its power supply to an outlet, then plug the power supply’s barrel jack into the selected Test and Measurement device. Flip the device’s power switch to the on position. The green “power good” indicator LED on the top of the device will turn on.
Software Setup
- Open the VI Package Manager (VIPM) Browser.
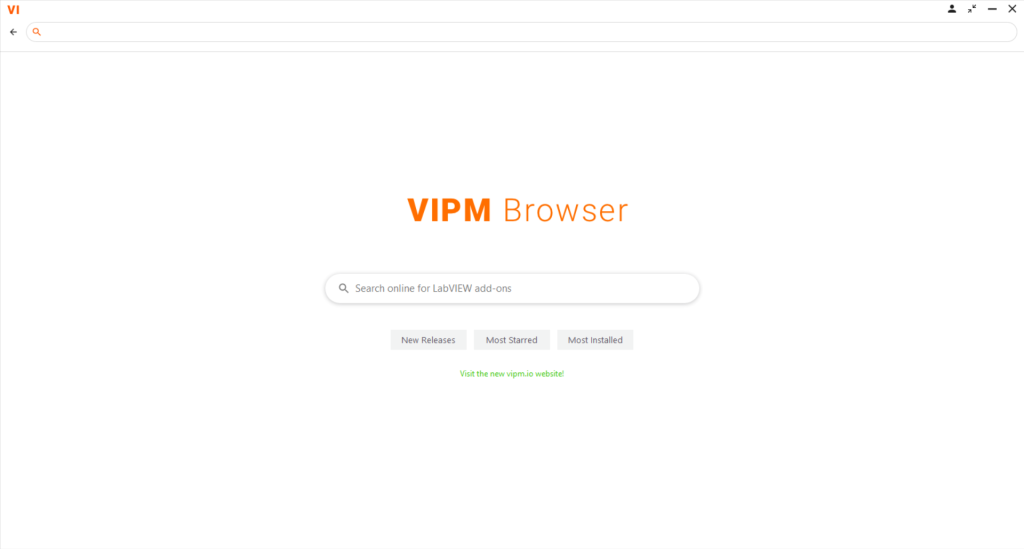
VIPM Browser
2. Search for “Digilent”, open “Digilent WaveForms VIs” and click “Install”.

Waveforms VIS Install
3. When finished close the current window and open the VI Package Manager. When it opens search for Digilent WaveForms VIs and double click on it.
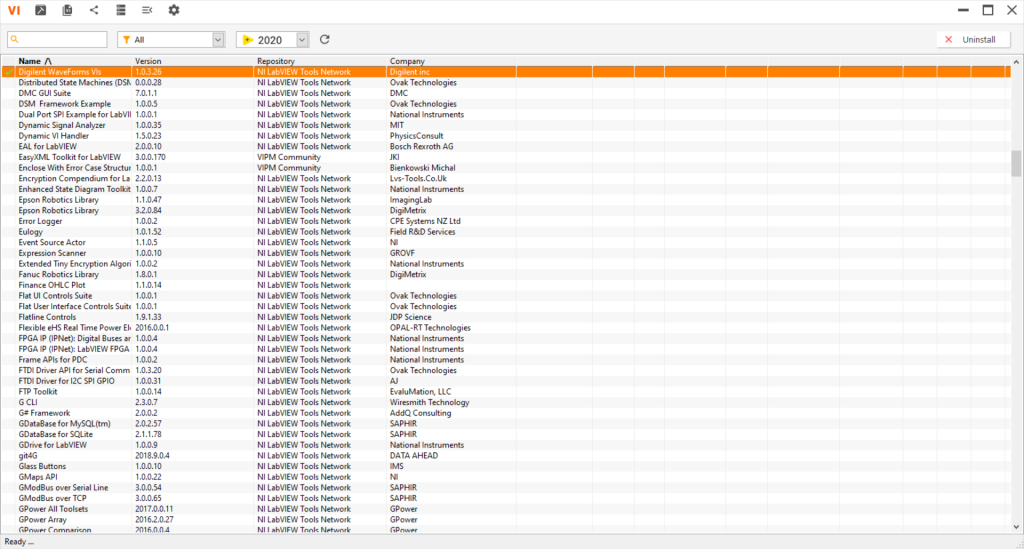
VI Package Manager
4. Click the “Show Examples” button.
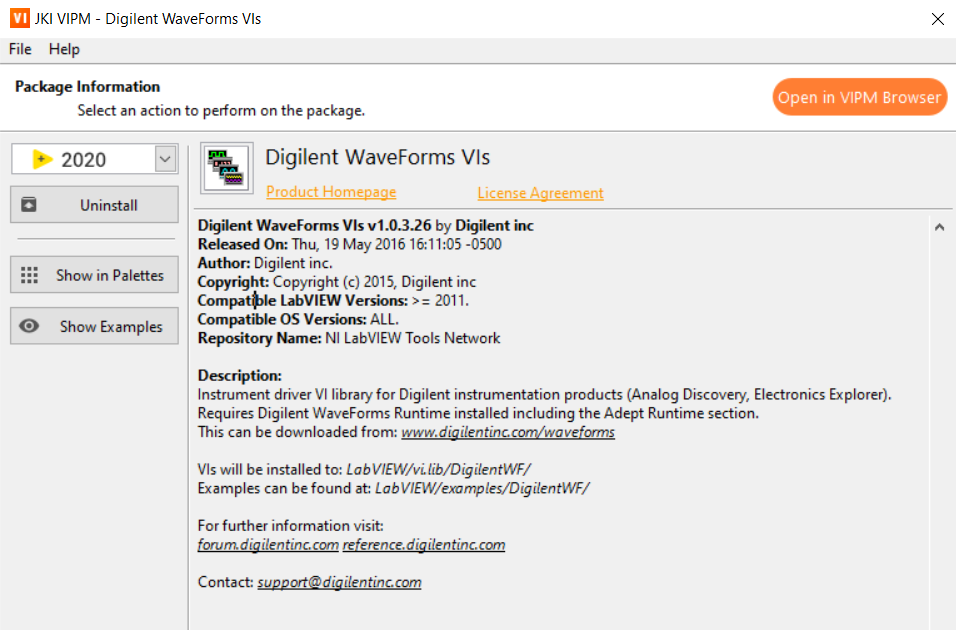
Show Examples
Note: WaveForms can be downloaded from the WaveForms and the set up process is found in the WaveForms Getting Started Guide. By installing WaveForms, the Digilent WaveForms Runtime will be installed, which is needed by the WaveForms VIs.
Note: To download LabVIEW, an NI account is needed. LabVIEW Community can be downloaded from LabVIEW Community and a getting started guide can be found at LabVIEW Community Getting Started. By installing LabVIEW Community, the VI Package Manager and VIPM Browser will be installed, which are later used in this guide.
From here you can follow examples demonstrating the functionality of different instruments:
- Analog IO Example
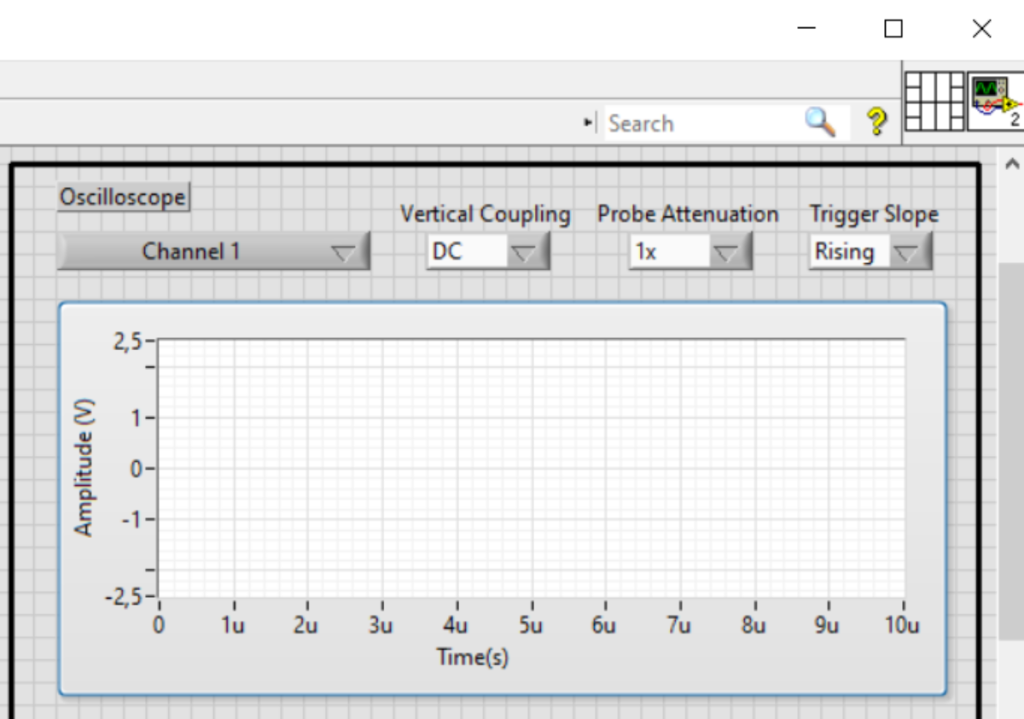
Analog IO Example Front Panel
2. Digital IO Example

Digital IO Example Front Panel


